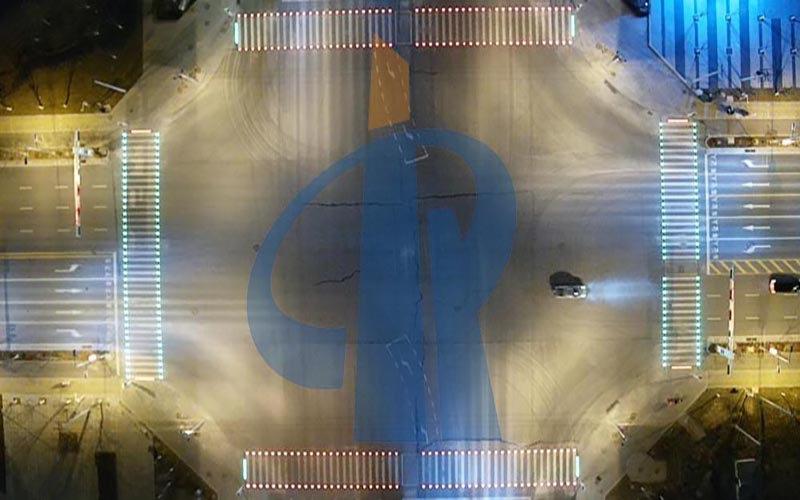
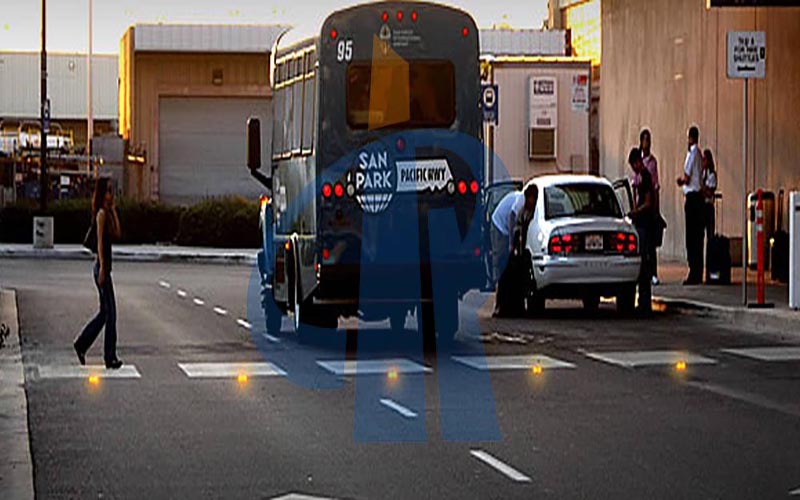
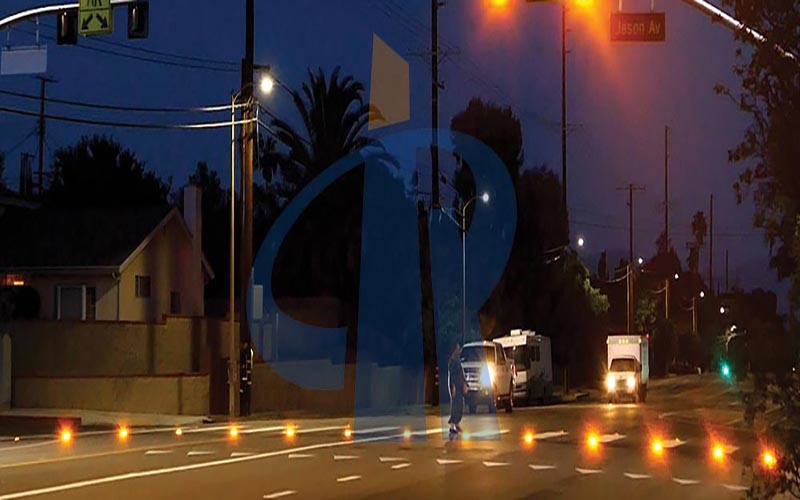
Smart Zebra Crossing Road Stud Control System Is Composed Of Three Parts
The smart zebra crossing road stud control system is composed of three parts: smart road stud control terminal, driver and smart road stud. The intelligent road stud control terminal is the core brain of the road stud control system, which can be connected to a customized platform through wired or wireless means for remote configuration. The configuration methods are multiple and flexible, which can be realized through the platform or the Bluetooth APP of the mobile phone. The configuration of the plan can independently control the work of the smart road studs; it can also be linked with the road test traffic signal control machine to control the smart road studs to synchronously execute the currently set light color step. The driver and the smart road stud adopt a two-wire system for power supply and communication, with flexible control and convenient and quick maintenance.

installation steps:
- Place safety isolation facilities. Safety is the first priority of the entire work and must not be ignored. In the entire dynamic construction process, whether it is a new road or an open road, everyone should be in the safety isolation facility.
- Determine the installation location and ensure that the installation location is level. For roads with expansion, cracks and unevenness, the roads should be smoothed and leveled in advance.
- Fix the installation position and clean the installation position with a brush.
- Drill holes at fixed points, with a diameter of 120mm and a depth of 50mm. And punch a wire slot with a depth of 50mm, a width of 30mm, and a length of 100-500mm on the side of the road stud (the conventional wire length of the active road stud is 600mm, other sizes can be customized).
- Clean up the punched muck.

- Connect the two-core wire with a length of 600mm and a wire diameter of 0.5mm*2 to the main line. The brown wire is connected to the positive wire, and the blue wire is connected to the negative wire. Note: Conventional active road studs can only be connected to DC 24V, not to AC220V, and the terminal should be waterproof.
- Pour the amount of glue (140 ml about 0.3 kg) into the spike hole, the glue should not be less than the quantitative value. The black shaded part of the picture below is glue
8. Tightly press the road stud into the mounting hole according to the light-emitting direction specified on the road surface, fine-tune the direction to the correct direction, and clean up the overflowing glue;
9. After the spikes are installed, do a tour to make sure that all the spikes are not reversed, crooked, or crooked.
- Connect the main line to DC24V (DC 24V), do not reverse the positive and negative poles, and check whether all the installed spikes are normally lit.
- The outlet trough is restored to the road surface, and after the road studs are cured for 24 hours, the isolation facilities are removed and installed.

Active spike installation is not a complicated matter, but there are many details that need attention. These details play a very important role in ensuring the quality requirements and service life of road studs.
Ground type traffic lights (spikes):
- Designed specifically for pedestrians on zebra crossings, with uniform, soft, non-glaring light, using 505nm green light. When the sun is strong and direct, the highest LED brightness can play a prompting role;
- High-strength compression and earthquake resistance: the spikes are made of high-quality cast aluminum shell with a load-bearing 30T;
- Road studs only need to be buried in the pavement;
- The whole power supply is filled with glue and waterproof, and it is driven by constant current, synchronized with the traffic lights, without delay;
- Unique buried ventilation hole design to ensure heat dissipation. Unique waterproof design, waterproof grade>IP68.